
Table of Contents
Ubuntu 18.04 (Bionic Beaver) is a long term support (LTS) release of the Ubuntu Linux distribution released in April of 2018 and supported until April of 2028. In this guide you’ll see how you can install Ubuntu 18.04 on VirtualBox, a popular cross-platform software for running virtual machines. These instructions will work for creating an Ubuntu 18.04 virtual machine on Windows, Linux and Mac OS host machines.
Video tutorial
If you prefer watching to reading, here’s a full video tutorial from the TopTechSkills YouTube channel covering a many of the points and examples from this article. Feel free to comment on this article or the video if you have any questions.
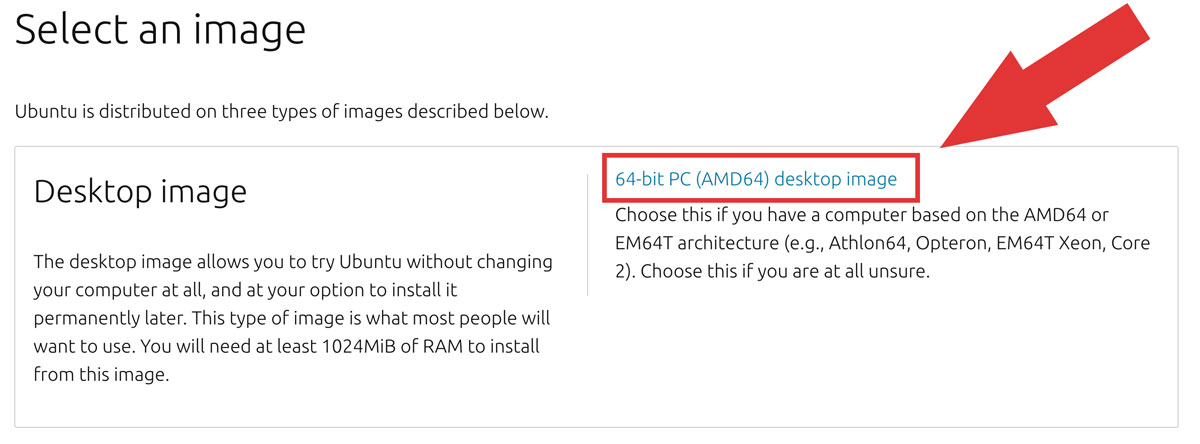
Step 1 - Download the Ubuntu 18.04 distribution image
Download the desired image from the Ubuntu 18.04 release page. For this guide we’ll be installing the desktop image:
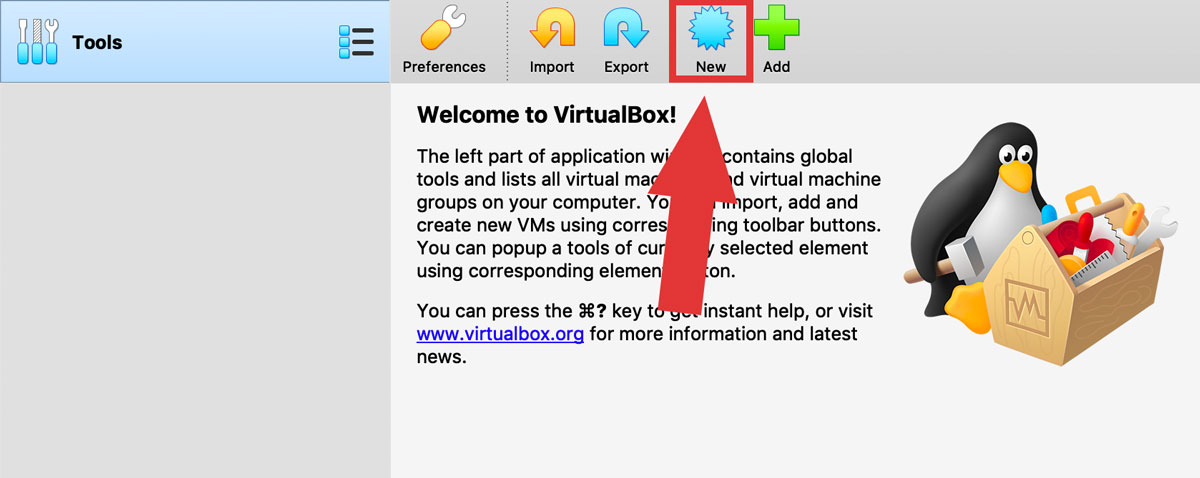
Step 2 - Create an empty virtual machine in VirtualBox
We’ll use the disk image downloaded in the previous step to install Ubuntu, but we first need an empty virtual machine to install it on. Create a new virtual machine in VirtualBox by clicking the New button.
Next, enter the details for the virtual machine:
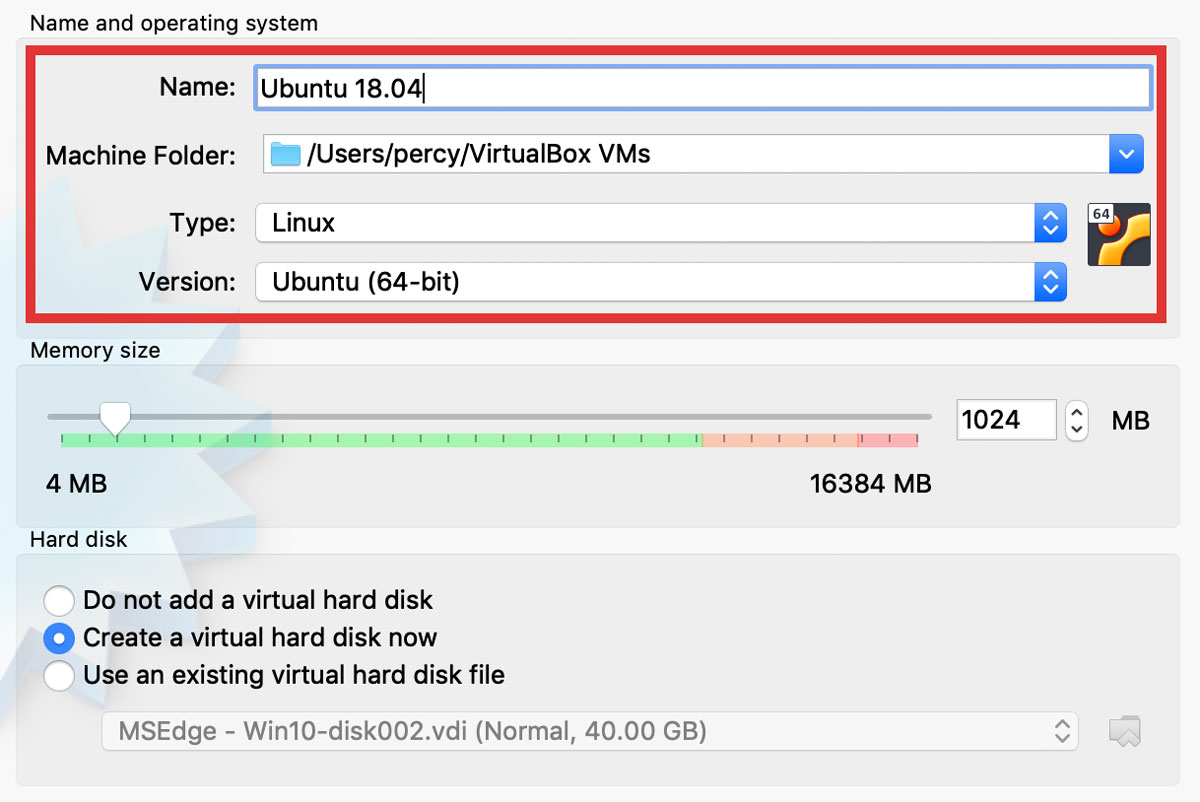
- Name: the name you want for the virtual machine (this can be changed later)
- Machine folder: the location you want the virtual machine files to be saved
- Type:
Linux - Version:
Ubuntu (64-bit) - Memory size: the amount of memory to give the virtual machine. 1024MB should be fine in most cases, but you can increase/decrease it later depending on performance.
- Hard disk:
Create a virtual hard disk now
Click Create and you will be prompted for the details of the virtual hard drive:
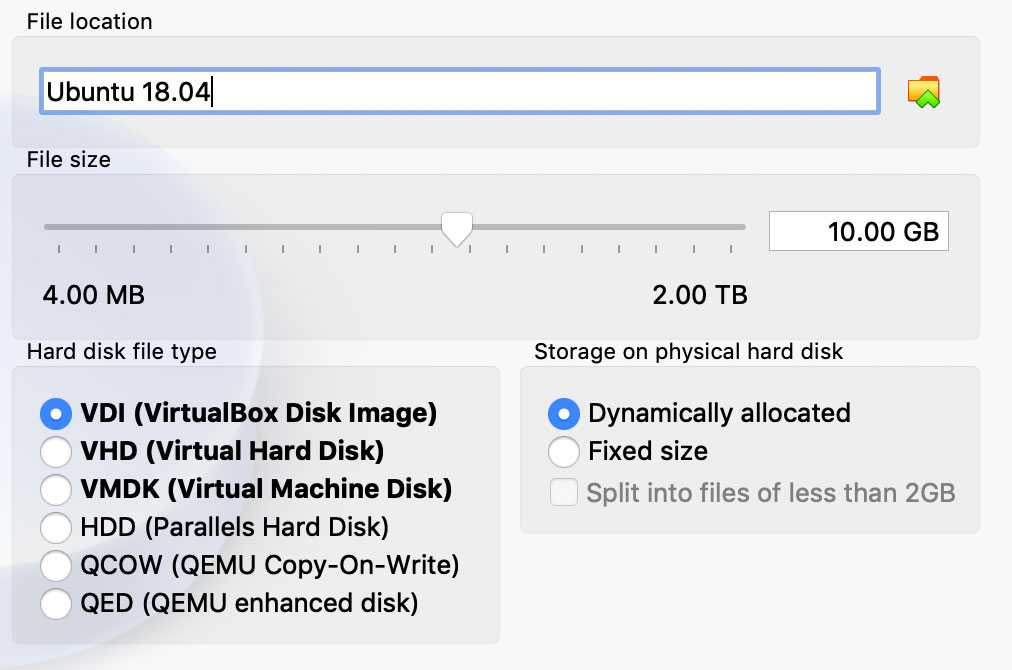
The defaults on your computer should match the image above pretty closely, but if it doubt, these settings will work fine:
- File location: leave this as default
- File size: 10GB is fine and can be changed later
- Hard disk file type:
VDIis suggested - Storage on physical hard disk: I suggest using
Dynamically allocated, which automatically grows the hard drive file as space is actually used on the virtual machine
Click Create and your new virtual machine will be created:
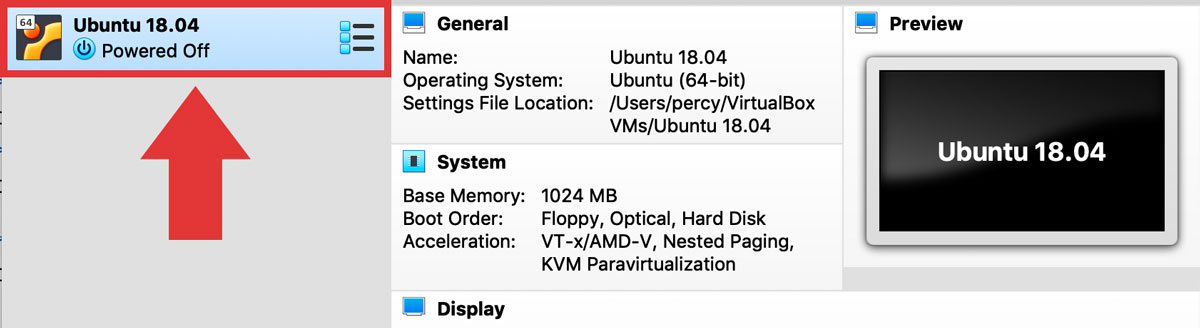
Step 3 - Install Ubuntu 18.04 on the virtual machine
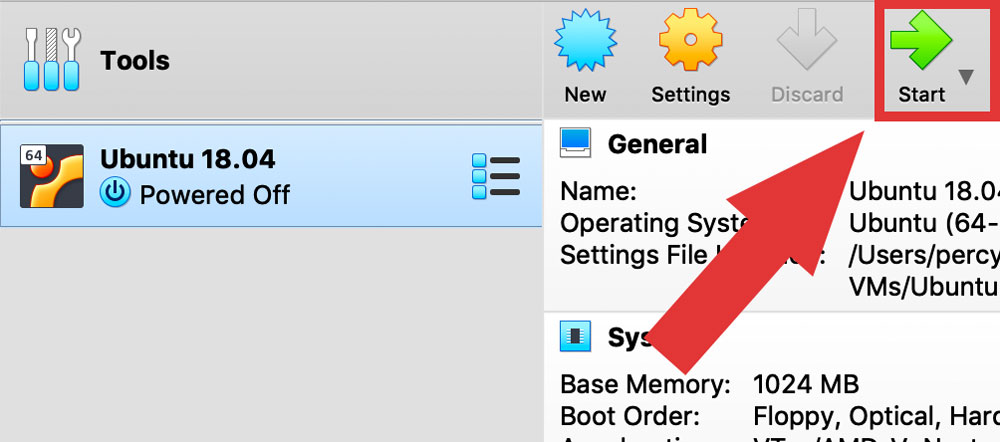
Click Start to start the newly created Ubuntu 18.04 virtual machine:
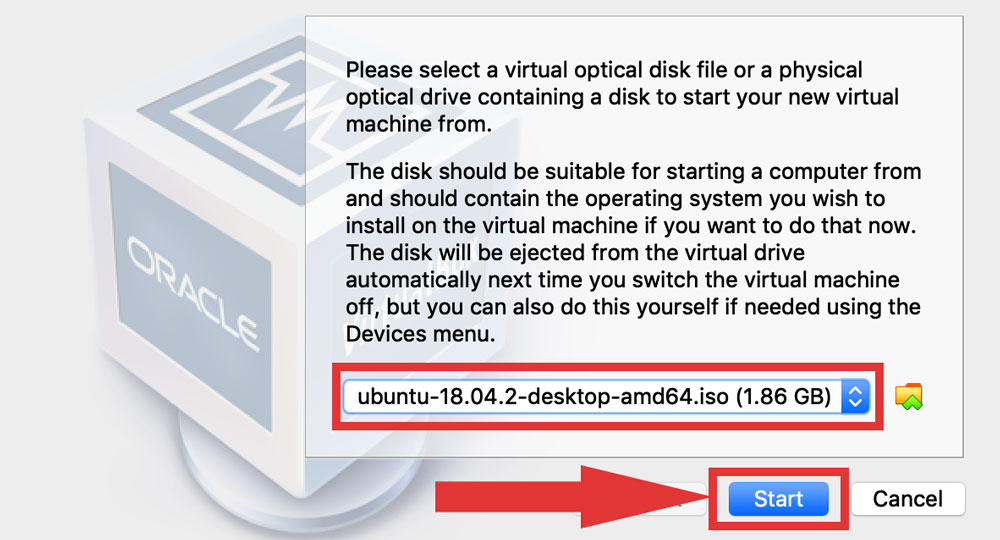
VirtualBox will prompt you to select a disk image from which to install Ubuntu. Click the folder icon:

Select the .iso file you downloaded in step 1 and then click Start:
Step 4 - Complete the Ubuntu 18.04 install wizard
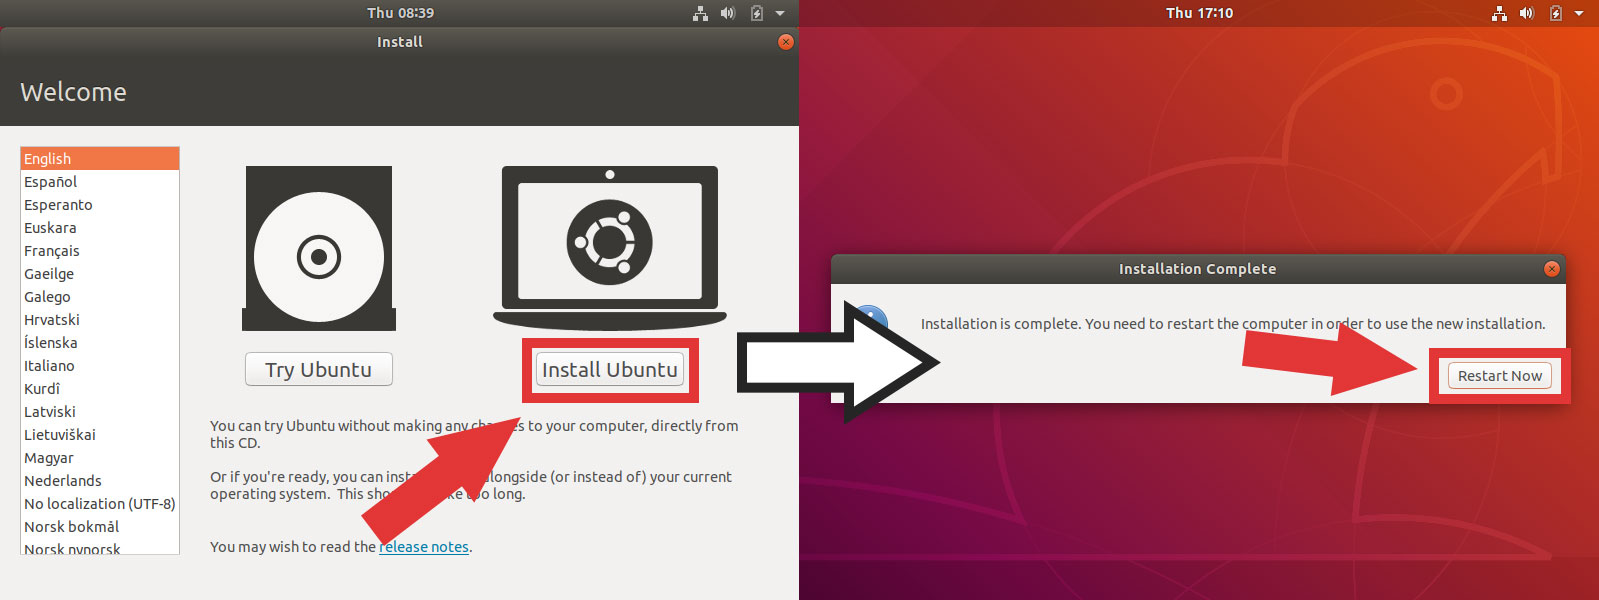
The virtual machine will launch using the Ubuntu 18.04 disk image and you will be guided through the installation by the installation wizard. The wizard has instructions for each step, so we won’t show each step here. Once the wizard is complete, the full installation will start. Once the installation is complete, you will need to restart the system:
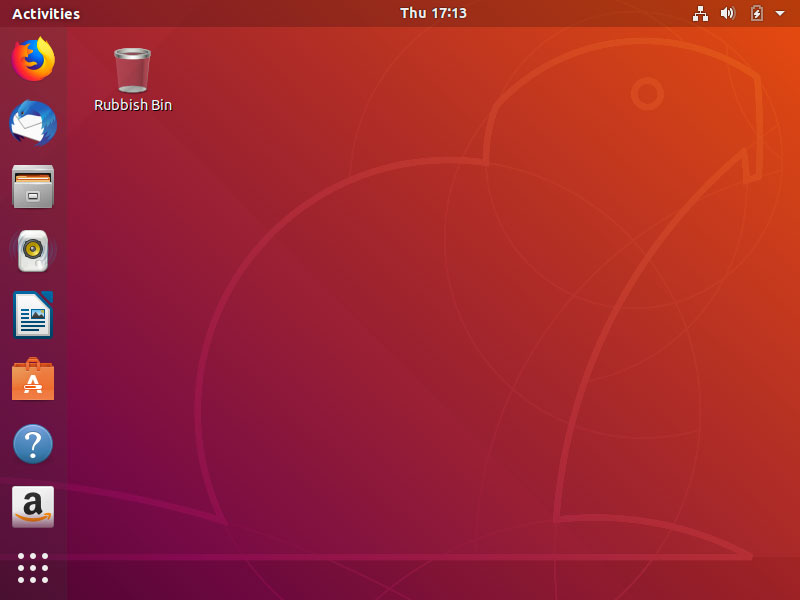
Once the system restarts, log in with the username and password you set in the installation wizard and you will be greeted with your new Ubuntu desktop:
Step 5 - Install the VirtualBox Guest Additions for Ubuntu 18.04
The VirtualBox Guest Additions contain drivers and system applications to optimize the performance and features of the virtual machine’s operating system.
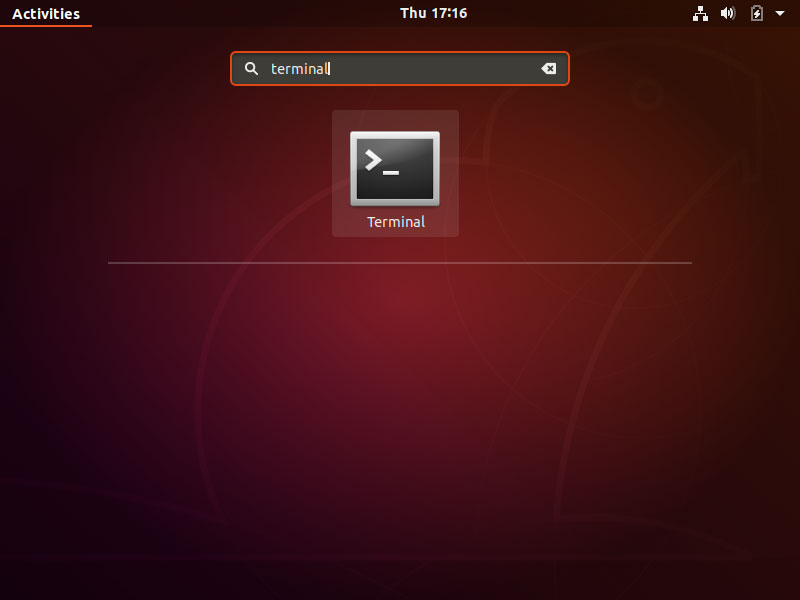
You need to install some system dependencies before installing the Guest Additions. The dependencies required are gcc, make and perl. To install them, first launch the Terminal by right clicking on the desktop and clicking Open Terminal, or by clicking All Programs and searching for Terminal:
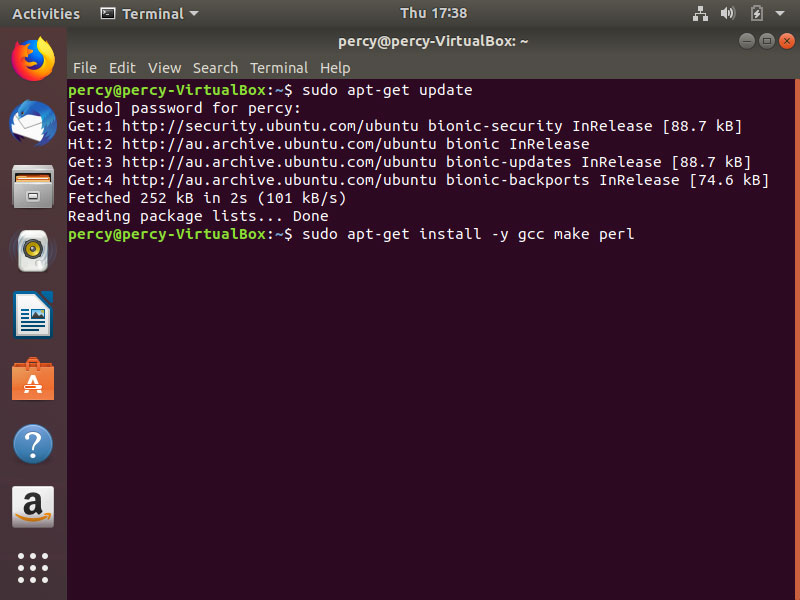
In the terminal, run the following 2 commands (you will need to provide your password when prompted):
sudo apt-get update
sudo apt-get install -y gcc make perl
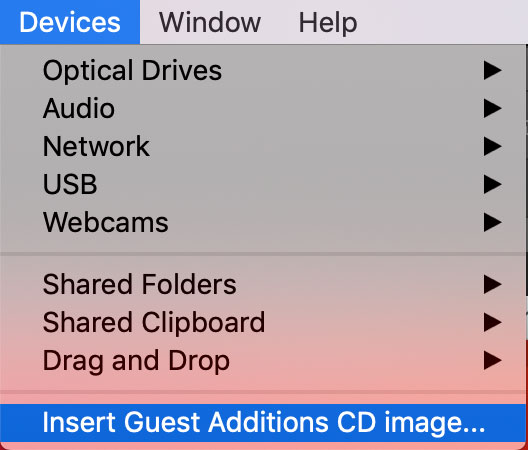
Once the dependencies have finished installing, we can go ahead and install the Guest Additions. To install the Guest Additions for Ubuntu 18.04 click Devices in the menu bar and then Insert Guest Additions CD Image...:
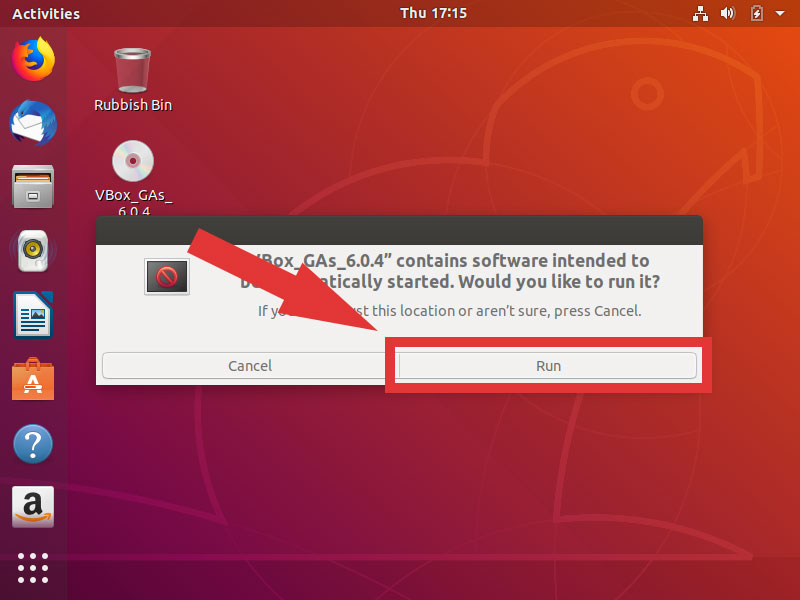
When Ubuntu asks you if you want to run the software, click Run:
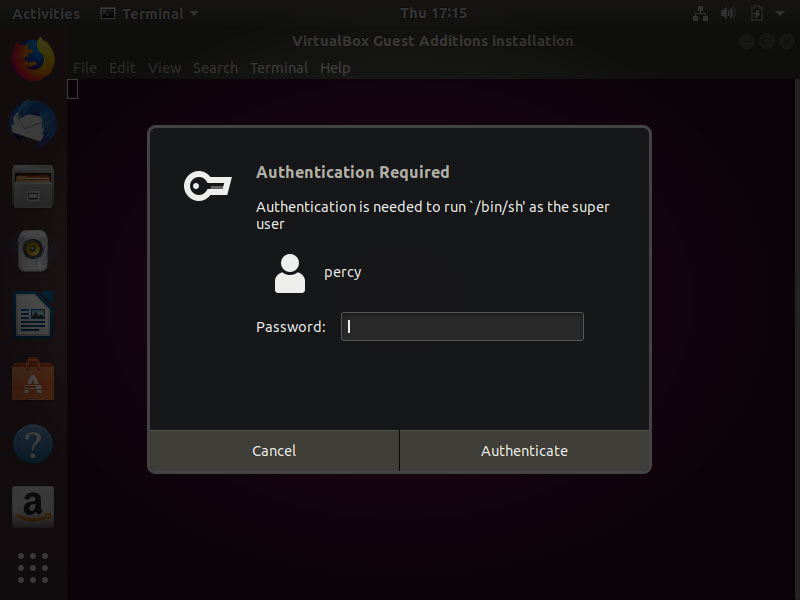
Ubuntu will prompt you to authenticate with your password:
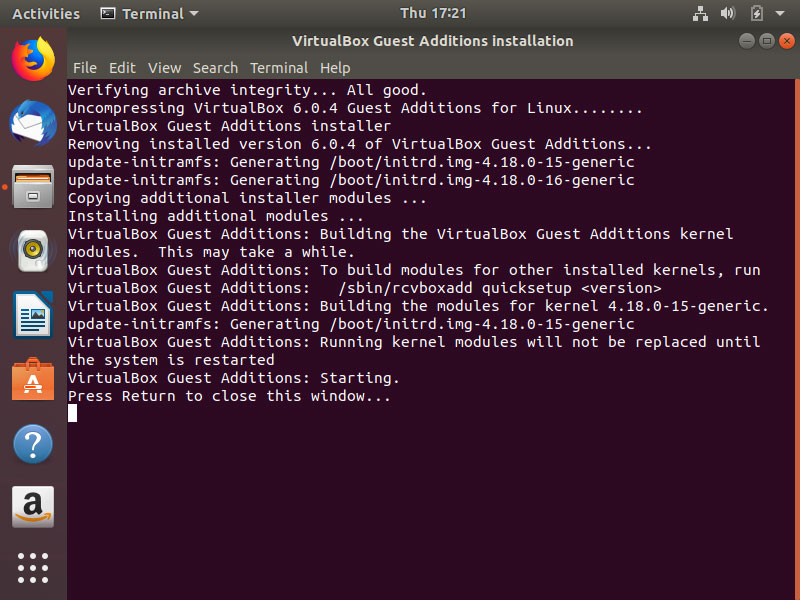
Once authenticated, the Guest Additions will install automatically:
With the Guest Additions installed, all you need to do now is restart the system and you’ll be ready to use your new Ubuntu 18.04 virtual machine.
